


So, I did as anyone in my position would do: I went perusing the web for some good ideas for teachers. And, so sorry to all you alleged helpful sites on finding-a-valentine-for-your-teacher, but I came up with a big. fat. goose egg! No heart-shaped box of chocolates or mug or coffee is going to do here, people!! Sooo...I started thinking...and here is what I came up with for what we will be doing TODAY to get things done for his teacher! The gift is 3-fold: home-made fudge, hand-crafted ivory flower pins/brooches & a hand-made card. And here are the details:
 |
| image of final gift ready to go to his teacher! |
Easy Coconut Fudge
Everyone loves something home-made. Especially when it comes to food ~ let's be honest, nothing compares. So I decided I had to do something delicious. But it had to be easy. C'mon now, I have EXTREMELY short notice here! The basis to the recipe is from my beloved allrecipes.com, but I did tweak it a bit:31/2 cups chocolate chips {use what you like here: dark, semi-sweet or milk}
1 can sweetened condensed milk
1/4 cup butter
nuts {optional}
1/2 cup dried, flaked coconut {optional}

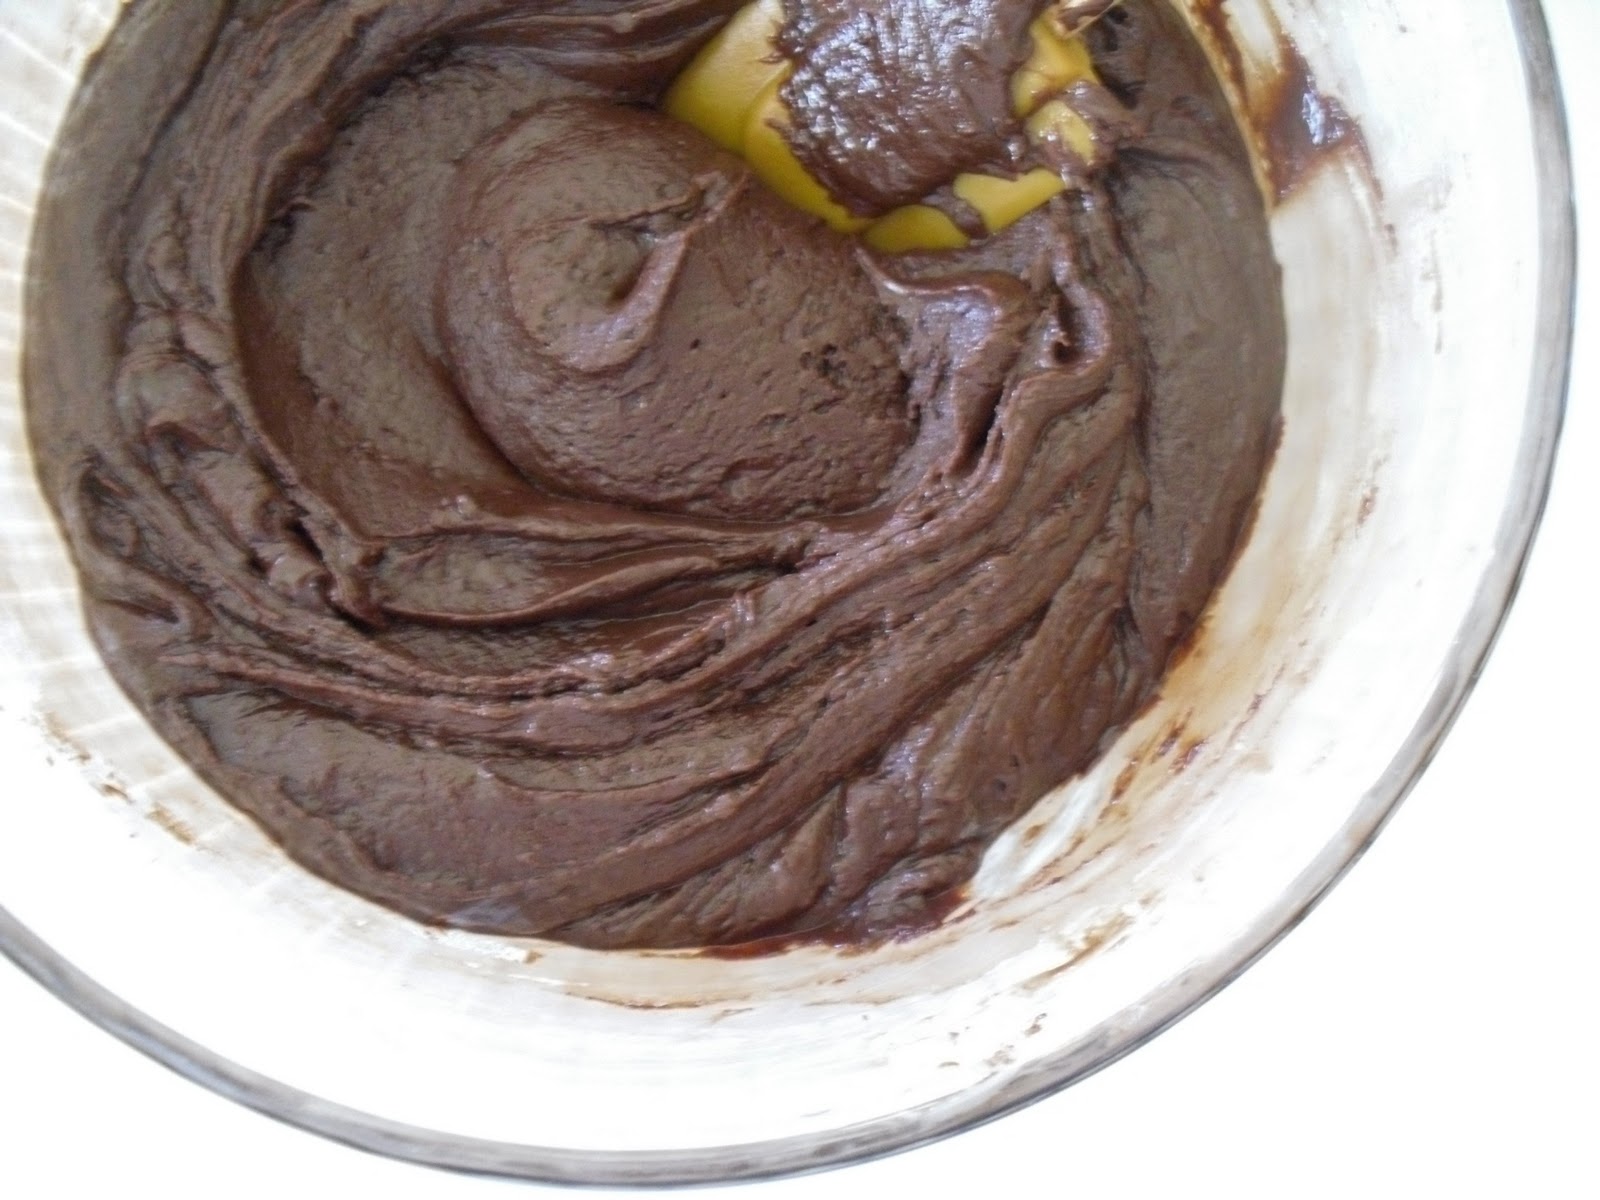
Just put it all together in a big bowl and microwave about 3-5 minutes in the microwave, stirring it and checking on it a couple times during that timeframe. You want it melted but not boiling, or you'll get crystallized {not creamy & smooth} fudge. OR you can use a double boiler like I did to reduce the risk of burning it. I actually don't have a double boiler, so I just took a large glass bowl that fit above one of my pots. I filled the pot with water and waited for it to boil. Then I placed my bowl over the pot and stirred pretty much constantly until it was all melted together.

Now you can add the chopped up nuts and/or coconut here if you like. I decided to add just the coconut to go for a "Mounds" feel. If you add the nuts, too, though, you'll have more of an "Almond Joy" fudge! Yuummm!! {I decided to forgo the nuts, as my son's preschool is a peanut-free school}.
Pour it into a well-greased 8x8 pan {OR I recommend using some tin foil that's been well greased in the pan, to make pulling out the fudge easy for cutting!} and refrigerate an hour or so. DONE!

After it was well chilled, I cut them into itsy bitsy squares {these guys are RICH!} using my pizza cutter {to get as straight of lines as possible!}. Then I put them individually in little 3x4 treat bags {from the cake section at Wal-Mart}, and tied them closed with some cute valentine ribbon and scallop-punched tags that I also hole-punched for the ribbon to go through. I then just my son's name and his teacher's name on them.
 |
| the fudge squares all wrapped up! |
Creamy Flower Pins/Brooch
I recently added these to my shop, and absolutely adore them! I don't offer them as pins/brooches in the shop yet, but probably will some time soon {right now, we offer them on headbands only}. I love that you can add these for a pop to anything~ from your clothing to your purse and more! Plus, you can mix and match sizes & colors for ultimate customization. {LOVE.}*********************************************************************************
UPDATE: You may now purchase both/either the Fabric Flower Brooch OR Tutorial to do it yourself in our shop! Visit Adam's Blankie to purchase either!! Thanks!!
*********************************************************************************

 |
| the flower brooches on a card to give the teacher |
 |
| here's an example of what the flower brooch look like on |
 |
| front of card |
Then I remembered....there's a teacher aide in his class {insert gasp here!}. Sooooooooo...are you supposed to give aides a valentine, too? I would imagine so... So then we added the card imaged below. I just used the same butterfly scrapbook paper and cut out two hearts, one bigger than the other. The big one represents the teacher, and the second smaller one, my little guy. I added some scrolly leaves & branches to make them look like little growing flower hearts. Then I added some of the same chalk ink around the edges of the hearts to add dimension and give it that same vintage-feel. I actually think I like this one better...probably because it's a bit more whimsical, which is more my style....what about you? Which one do you prefer? {Oh, and in case, you're wondering, yes, the teacher aide, too, will also be getting some of the fudge we made!} :)
 |
| front side of second card for teacher's aide |
 | |
| back sides of cards my son decorated himself |
 |
| end result of everything going to the teachers! |
Well, we sure hope the teachers both loves their gifts! But, I have to ask, what do YOU give to your kids' teacher/s for Valentine's Day?? If you have any great craft ideas out there, please share on this thread!
Have a product you'd like reviewed?
Contact me at adamsblankie@gmail.com
www.adamsblankie.com
www.gourmetplay.etsy.com


0 comments:
Add Your Couture Comment